Add to Cloudflare
You can add the domain name to Cloudflare using either method below
Most DNS records will be added by Cloudflare's automated DNS scanner, however, please ensure you check the records prior to switching the nameserver, as some records may be missing/incorrect
For newly registered domain names, it may take up to an hour before you are able to add the domain name to Cloudflare (usually less than 20 minutes)
Method 1: Add when registering
- Login to the portal
- Register the domain of your choosing in the portal
-
Ensure you select 'Yes' for 'Add to Cloudflare'

- Once the domain is registered, it will attempt to auto-add the domain to Cloudflare and update the nameservers for you.
- It may take up to an hour for the domain to become active on Cloudflare

Method 2: Add using the portal
- Login to the portal
-
In the menu, under Tools > Add to Cloudflare

-
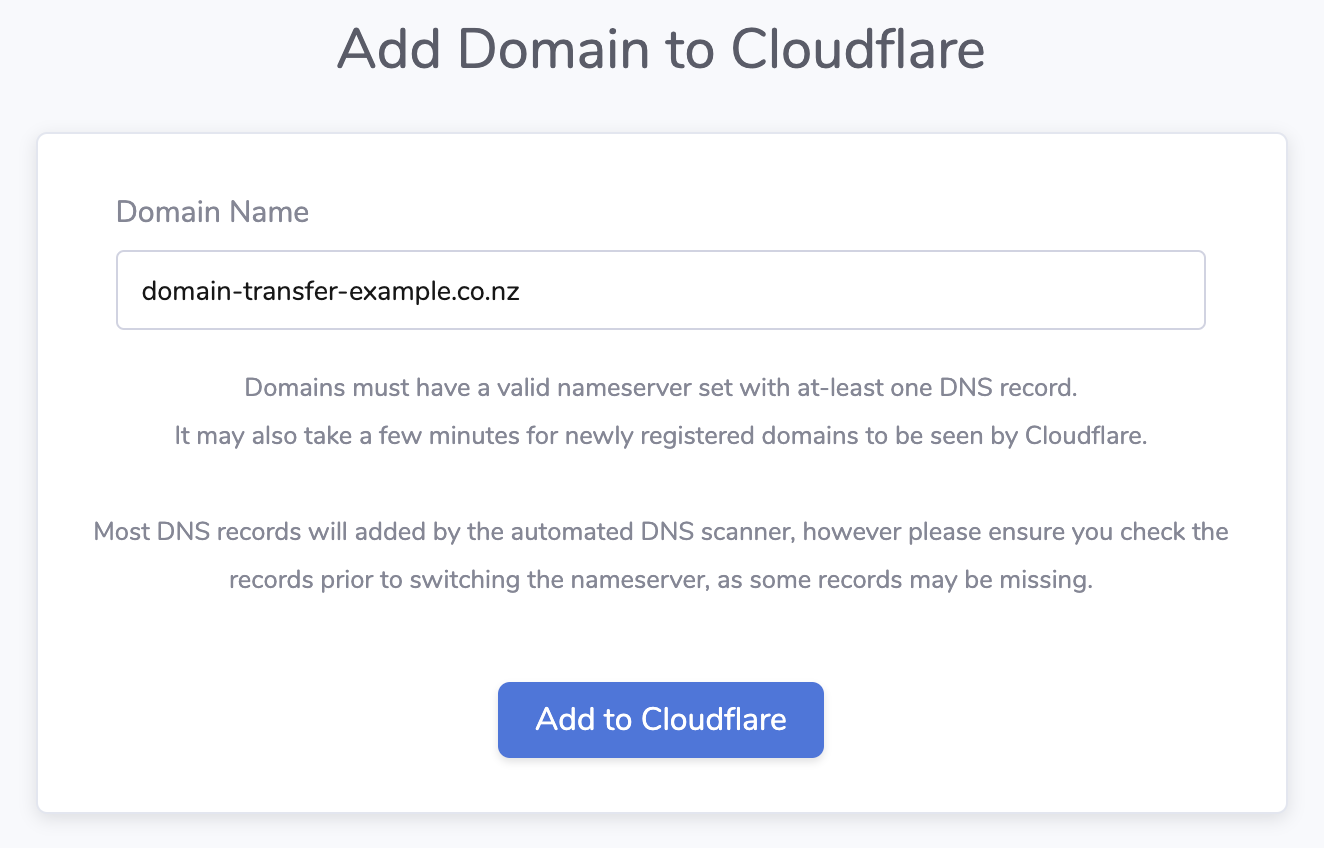
Enter the domain name and press "Add to Cloudflare"
-
The portal will attempt to auto-add the domain name to the Cloudflare account your organisation has set up with Whitelabel Digital

- Once added you will need to double-check the DNS records are all correct on Cloudflare for the domain name (you do this on the Cloudflare portal itself)
- Cloudflare should add most DNS records however some may be missing complete and will have to be manually adjusted.
- Unproxy all the records unless you specifically need the record to be proxied
- When all details are correct you will need to update the Nameservers for the domain name


Method 3: Add using Cloudflare Dashboard
- Login to the Cloudflare Dashboard
-
Press the "Add Site" button

- Follow the prompts and select the "Free” plan. (or a paid plan if you need the paid features)
- Cloudflare should add most DNS records however some may be missing complete and will have to be manually adjusted.
- Unproxy all the records unless you specifically need the record to be proxied
- Once added make sure the records are all correct before switching the nameserver
